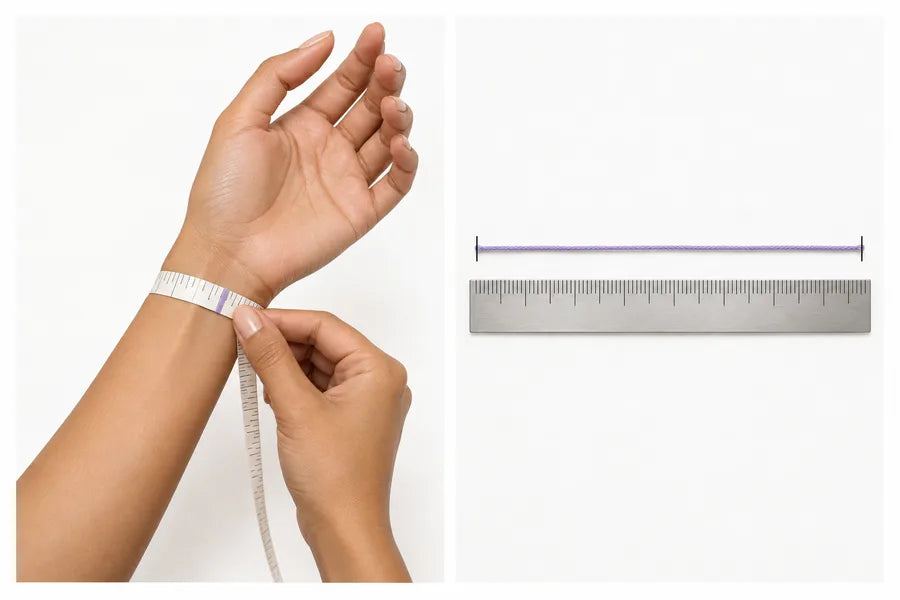
Measure with a soft tape
Relax your hand. Wrap the tape once around bare skin where you plan to wear the bracelet, near the wrist bone on the elbow side.
Keep the tape flat and snug without making an indentation; do not slide a finger underneath. Read where the tape meets zero, then repeat at the same position.
If the readings differ, measure again.
No tape? Use string and a ruler
Use a narrow paper strip or non-stretch string. Mark the overlap, lay it flat without stretching, then measure from the starting end to the mark.
Elastic string is unsuitable because pulling changes its length. Record the unit with the number: 15 cm is 150 mm, approximately 5.91 inches.
What number goes into our designer?
Enter the actual bare-wrist reading and choose cm or inches. Do not add wearing allowance yourself.
Our current designer accepts measured wrists of 15–22 cm. If your wrist is smaller than 15 cm, do not enter a larger value to bypass the minimum; contact us before ordering.
The minimum is a product range, not an age or gender average.
Why bead size changes fit
A row of beads measured end to end is longer than the space available inside the bracelet. Larger beads, spacers and charm attachments change that relationship.
Our preview uses a material-planning estimate; a “matched” result is not a physical measurement of the finished inner circumference. The studio needs to check the confirmed materials and your wrist measurement before making the bracelet.
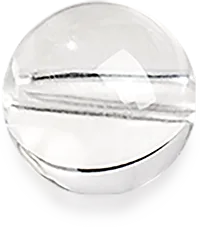
Choosing 8 mm, 10 mm or 12 mm beads
Smaller beads give a finer visual rhythm; larger beads create more presence. Choose a size available for the material in the designer, then review the whole combination.
Do not keep the same bead count when changing diameter and assume the fit remains the same. For a gift, obtain a real measurement rather than guessing from a photograph.